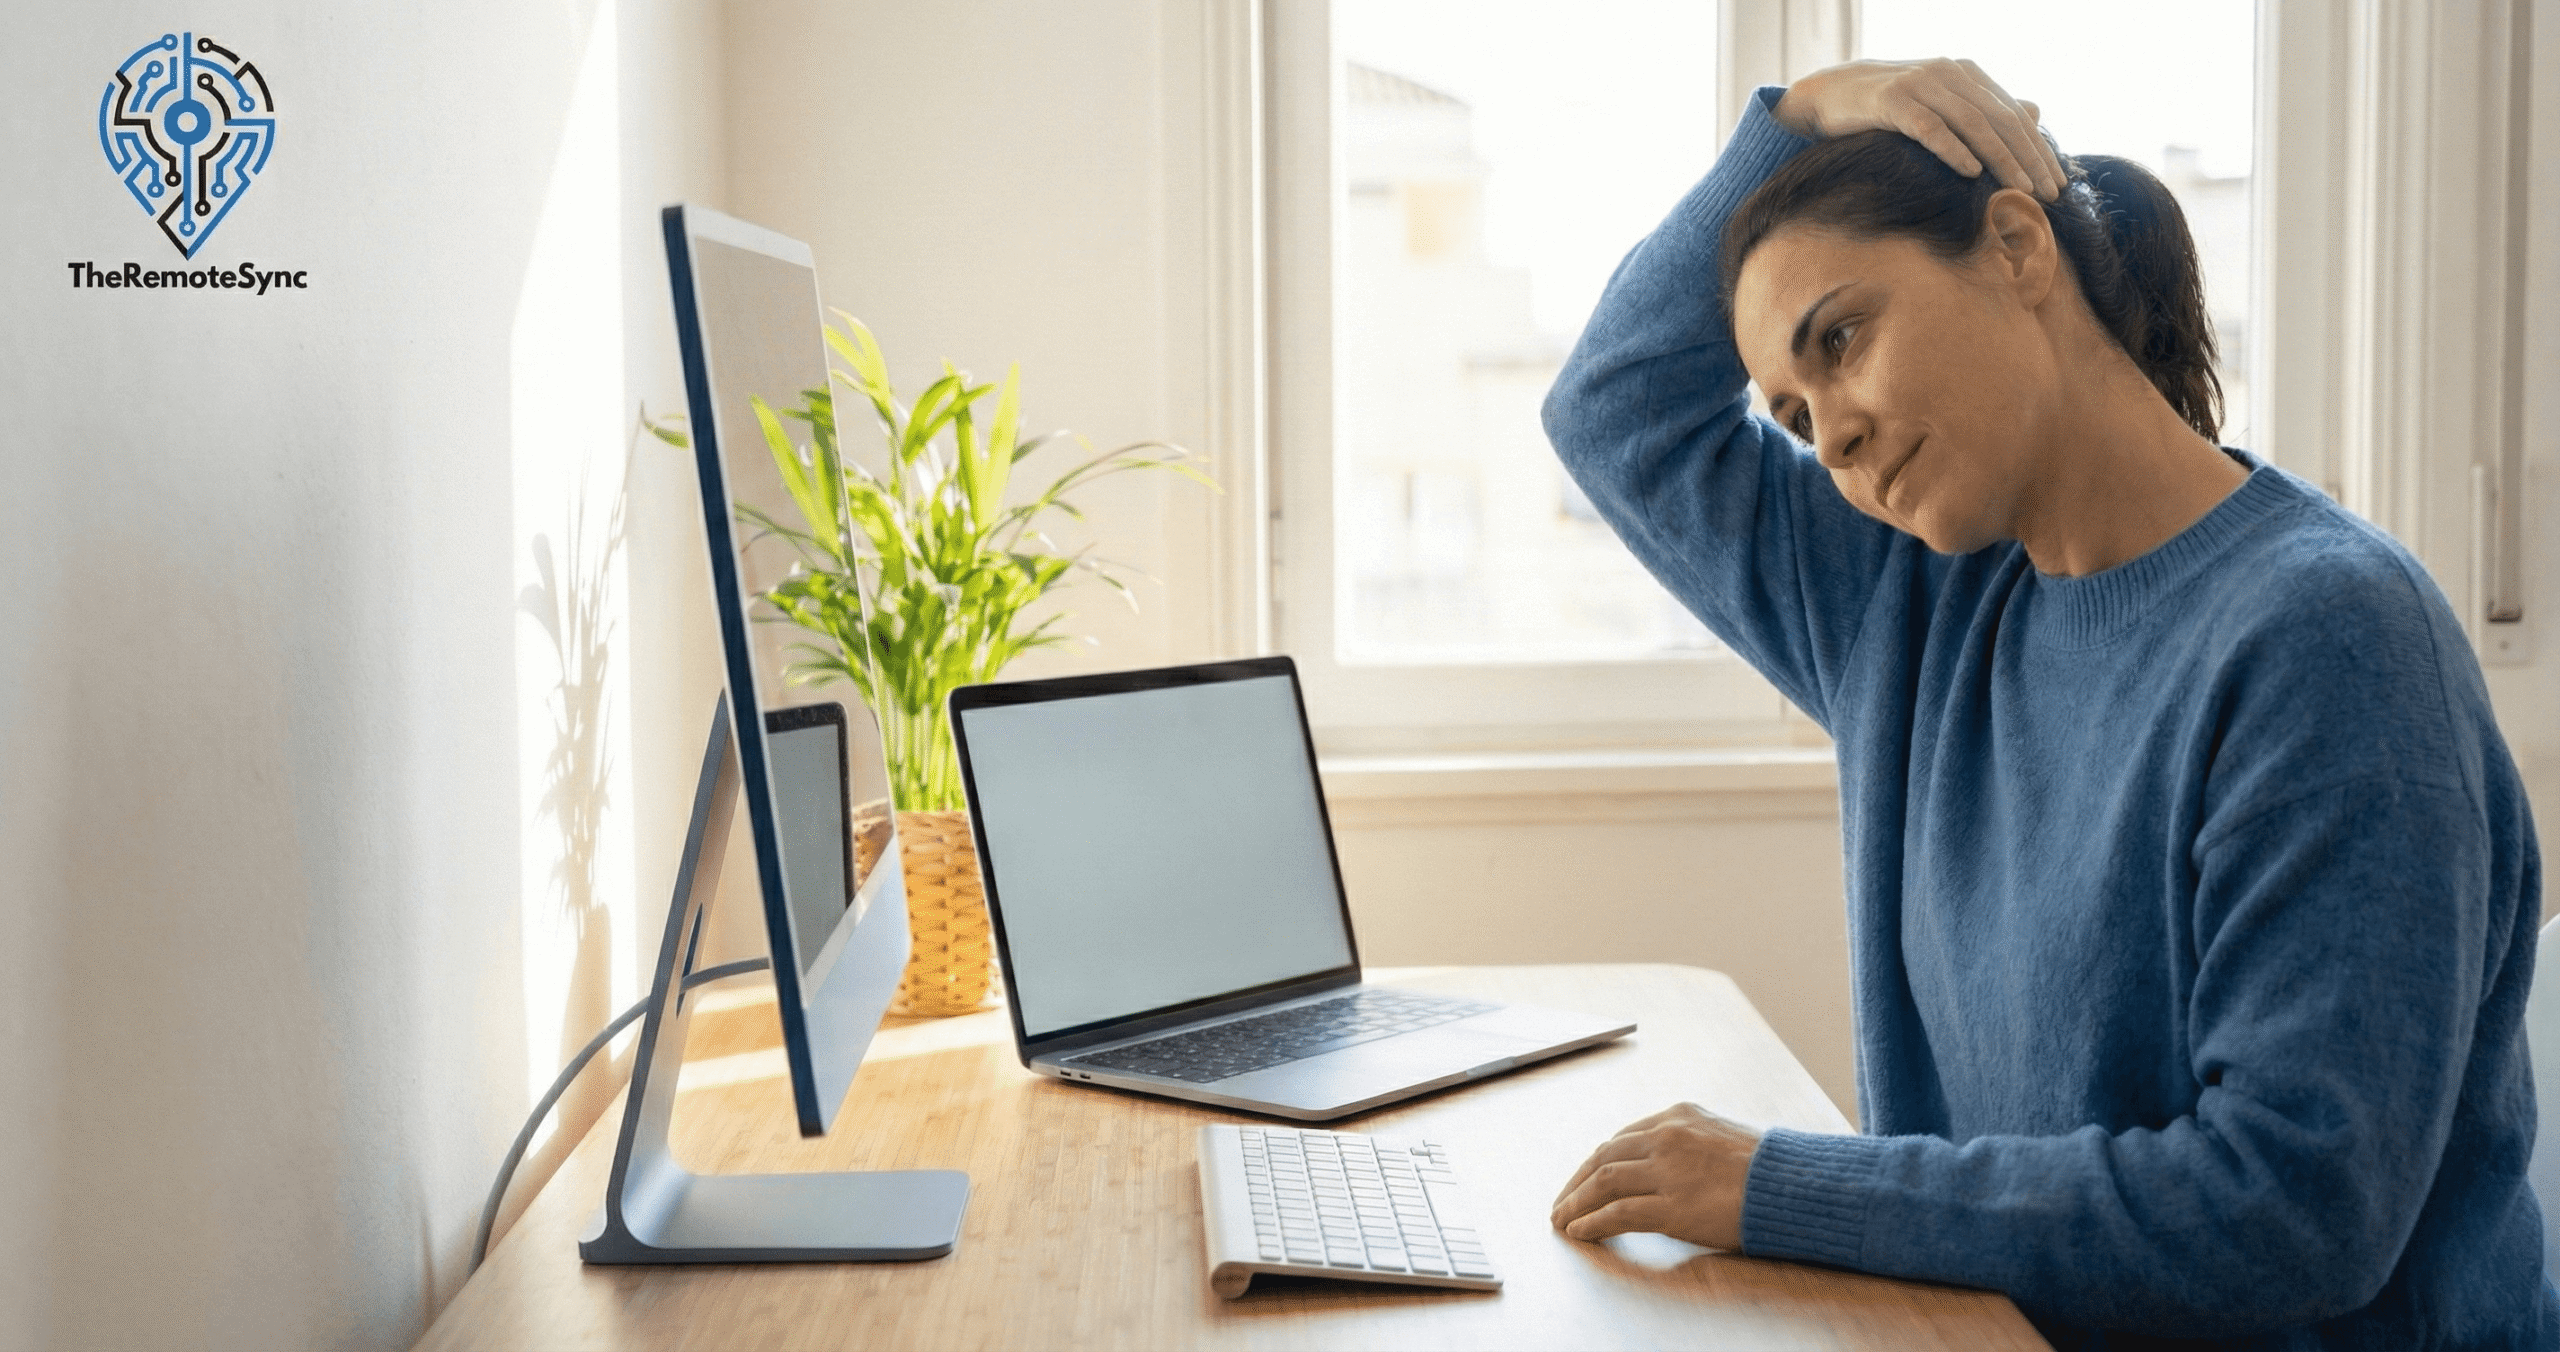
If your neck feels stiff by 2 PM and your upper back aches by the time you close your laptop, you’re not just tired. You’ve got tech neck, and it compounds every day you don’t address it.
The good news: you don’t need a physical therapist, a gym, or a dedicated wellness break. The five tech neck exercises in this guide take under 10 minutes and can be done at your desk. The harder part is actually doing them consistently.
Why These Exercises Work (And Why Generic Stretching Doesn’t)
Most people who try to fix neck pain from screens reach for the obvious: they roll their neck around or shrug their shoulders. That feels satisfying in the moment, but doesn’t address what’s actually broken.
Tech neck is a posture problem, not a tightness problem. The real issue is that your deep neck flexors have essentially switched off after hours of forward head position, while your chest and upper trap muscles have tightened to compensate. Until you reverse that pattern, the pain keeps coming back.
Research published in the Journal of Physical Therapy Science found that workers with forward head posture showed measurably weaker deep neck flexor activation compared to those with neutral posture — meaning the fix has to involve reactivating those muscles, not just stretching the ones that are already overworked.
The five exercises below are specifically chosen to address that root pattern. They’re not a random selection of neck stretches. Each one targets a specific link in the chain.
What’s Actually Happening to Your Neck at Your Desk
Your head weighs roughly 10 to 12 pounds in a neutral position. The moment it shifts forward, even slightly, the load on your cervical spine increases. At a 45-degree forward tilt, that load climbs to around 49 pounds.
Hold that position for 6 to 8 hours a day, and a few things happen in sequence:
- Your deep neck flexors (the muscles at the front of your neck) weaken from underuse
- Your upper trapezius and levator scapulae muscles at the back and side tighten to hold your head up
- Your chest muscles shorten, pulling your shoulders forward
- Your thoracic spine (mid-back) rounds, which forces your neck to compensate even more
This pattern is called Upper Cross Syndrome, and it’s almost universal in remote workers who haven’t made deliberate ergonomic adjustments. If you’ve also started noticing lower back pain alongside the neck pain, it’s the same chain extending downward.
The exercises below work through this in order: reset the head position first, then open the chest, then stabilize the upper back.
The 5 Tech Neck Exercises (With What to Actually Feel)
Most exercise guides tell you the move but not what to feel. That’s where people go wrong. Here’s what each one should feel like when you’re doing it right.
1. Chin Tuck (Cervical Retraction)
This is the foundation. It directly reactivates the deep neck flexors and pulls your head back over your spine.
How to do it: Sit upright. Look straight ahead. Without tilting your chin up or down, slide your head straight back — like you’re trying to make a double chin. Hold for 5 seconds. Release slowly. Repeat 10 times.
What you should feel: A mild stretch at the base of your skull, not in your throat. If your chin is going up, you’re extending, not retracting.
Common mistake: People nod instead of sliding straight back. The motion is horizontal, not vertical.
Frequency: Do this one every hour if you’re at a particularly bad desk day. It’s the highest-value move in this list.
Check out this video to learn more:
2. Scapular Squeeze (Shoulder Retraction)
Your shoulders round forward because the muscles meant to hold them back have gone dormant. This exercise wakes them up.
How to do it: Sit up straight. Pull your shoulder blades toward each other, as if you’re trying to hold a pen between them. Keep your shoulders down, not shrugged. Hold for 5 seconds. Repeat 10 times.
What you should feel: Activation between your shoulder blades, not just in your upper traps. If your shoulders are creeping toward your ears, you’re using the wrong muscles.
Why this matters for desk workers: Most people who type all day have tight pectorals and weak rhomboids. The scapular squeeze directly targets the rhomboids and mid-trapezius. Without this, the chest stretches below won’t hold.
Check out this video to learn more:
3. Doorway Chest Stretch (Pectoral Release)
Tight chest muscles are what physically pull your shoulders forward. No amount of back strengthening will fix the posture if the chest stays shortened.
How to do it: Stand in a doorframe. Place both forearms on the doorframe, elbows at shoulder height. Step one foot forward through the door until you feel the stretch in your chest. Hold 30 seconds per side.
What you should feel: A pull across the front of your shoulders and chest. If you feel it in your shoulder joint rather than the muscle, lower your arms slightly.
A note on form: Don’t force this one. If you have any shoulder impingement history, ease into it gradually and stop if you feel joint discomfort.
Check out this video to learn more:
4. Wall Angel
This is the diagnostic test and strengthener combined. Most people discover they can’t do this correctly on the first try, which tells you exactly how bad the mobility restriction is.
How to do it: Stand with your back flat against a wall. Your head, upper back, and glutes should all make contact. Raise your arms to a “goalpost” position (elbows at 90 degrees). Try to keep your wrists and elbows touching the wall as you slowly raise your arms overhead and bring them back down.
What you should feel: Significant effort in your mid and upper back. If your lower back arches away from the wall, engage your core to flatten it back.
What it tells you: If your wrists can’t stay on the wall as you raise your arms, you have significant shoulder mobility and thoracic mobility restrictions. That’s useful information.
Frequency: 10 slow reps. Once you can do these cleanly, you’ll notice your resting posture improving.
Check out this video to learn more:
5. Thoracic Extension Over Chair Back
Your thoracic spine is the segment that rounds the most when you sit for hours. This is the most direct way to reverse that.
How to do it: Sit in a chair with a defined upper edge to the backrest. Clasp your hands behind your head. Gently lean back over the top of the chair, allowing your upper back to extend over the edge. Look up toward the ceiling. Hold 5 to 10 seconds, then come back up. Repeat 5 times.
What you should feel: A release or mild crack in your mid-back, not your lower back or neck. If you feel it in your neck, your hands are pulling your head too far.
Practical note: This works best on a firm, relatively low-backed office chair. High-back chairs or bucket seats won’t give you the extension you need. If your chair has a very tall back, a rolled-up towel placed horizontally across the backrest at mid-shoulder-blade height achieves the same effect.
Check out this video to learn more:
How to Actually Make This a Habit
Knowing the exercises is the easy part. Doing them consistently is where most people fall short.
The most effective approach isn’t a dedicated “neck break” at a specific time. It’s attaching these exercises to things already in your schedule:
- During your morning standup or first meeting: Do 10 chin tucks while you listen
- Every time you refill your water: Do a scapular squeeze set before you sit back down
- End of lunch: Doorway stretch on the way back from the kitchen
- Afternoon slump (around 3 PM): Wall angels and the chair extension
If you’re also dealing with a tech neck hump developing at the base of your skull, consistency with the wall angel and thoracic extension is especially important. That hump is a postural adaptation, not a structural defect, and it responds to regular mobility work.
The Ergonomic Side: Exercises Won’t Fully Stick If Your Setup Is Wrong
You can do all five of these exercises every day and still wake up with neck pain if your monitor is sitting at the wrong height.
The key adjustments that directly affect neck position:
Monitor height: The top third of your screen should sit at or just below eye level. If you’re looking down at a laptop screen all day, elevating it with a laptop stand and using a separate keyboard is the single highest-impact ergonomic change you can make for tech neck.
Monitor distance: Arm’s length is the standard, but more importantly: you shouldn’t be leaning forward to read text. If you’re squinting, increase the font size before you move the monitor closer.
Chair height: Your feet should be flat, knees at roughly 90 degrees. If your chair is too low, you tend to round forward. Too high, and your arms pull your shoulders up.
If you want more on positioning, our guide on how to fix tech neck covers the full ergonomic and lifestyle picture.
How Long Before You See Results
Realistically, you’ll feel the immediate relief of the exercises on day one. The structural improvement in your posture takes 4 to 8 weeks of consistent practice.
If your tech neck has been building for years, the deep neck flexors won’t rebuild overnight. Think of it like any other strength work: the exercises create the conditions for improvement, but the improvement happens with time and repetition.
The people who don’t see results are usually doing the exercises occasionally instead of daily, or they’re doing them without fixing the ergonomic environment that caused the problem in the first place.